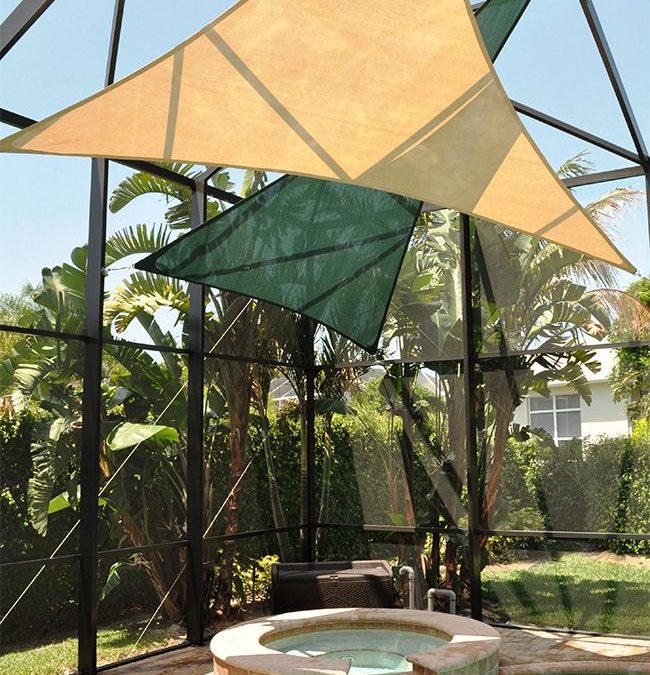
If you’ve not already noticed Shade Sails everywhere, chances are after reading this, you’ll see them everywhere you look — particularly in popular outdoor areas like parks and playgrounds.
Select a high-quality shade sail. This is because the cheaper versions tend to stretch, which makes them move more in the wind. The lower-quality ones then continue to break apart. Eventually, it won’t stretch any further and will begin to fall apart.
Look for a shade sail with high UV protection. You want at least 92% protection from harmful UV rays in your shade sail. Purchase accordingly.
Though shade sails are pretty easy to install and maintain, there are some tips and tricks that can make your life easier:
- Choose the right location for your shade sail.
- Plan your shade structure – Do I need a Permit?
- It’s important to check with your local council for their exact regulations to ensure your proposed shade structure is compliant. Many people assume that shade sails don’t require council approval, however, this isn’t always the case.
- Footers
- You’re ready to dig your holes for anchor post positioning and installation.
- Your hole should be a minimum of 1sq/ft in diameter by 3 ft deep.
- This will ensure stability and stress in the post. Even though it is not load-bearing, it will have to withstand a certain amount of tension when the wind picks up in your garden.
- Posts – Steel vs Wood
- Steel posts have a longer lifetime and can be powder coated or painted to help protect them and provide the desired color. If timber posts are used, then we generally recommend temporary power poles with a preservative added to the wood, FYI wooden posts need to be maintained. Don’t use dimensional lumber as it is not strong enough
- Once your posts are installed, make sure to level off your anchor post hooks and make sure the corner in which you want the water to run off is slightly lower than the other points. Since water follows the flow of gravity, it will always run down to the lowest point.

-
- Using a tape measure, attached to the edge of the eyebolt, stretch across to the next eyebolt and record the measurement, making sure to double-check the result and particularly the coordinate. (Right measurement but wrong coordinate is a disaster.) Each different Shade Sail requires an exact set of absolutely precise measurements to guarantee a correct fitting Shade Sail.
- We will then need the diagonals and the post heights as they relate to Datum (lowest point).
- Install Sail
- Carefully unwrap your sail without dragging it along the ground, also ensure that the seams are facing down. Open it up and start to hook each D ring onto your chosen fitments, remember to loosen your cable wire first. The sails have curved sides for pull and tension, so as you install each corner, you may notice it becomes increasingly more challenging to attach; this is entirely normal. Shade sails must be very taut to avoid damage during high winds and inclement weather. You may need to run a rope/ratchet strap through the sails corner hardware and the pad eye to help you pull the sail into position.
- Once each corner is securely attached, you will need to tighten each turnbuckle a few turns at a time to get even tension all around the shade sail. Once the tensioning is complete, the shade sail should have little to no wrinkles in the fabric and should not sag in the middle.
Sit back and enjoy the shade! After all your hard work and the time you invested, you should feel accomplished.

